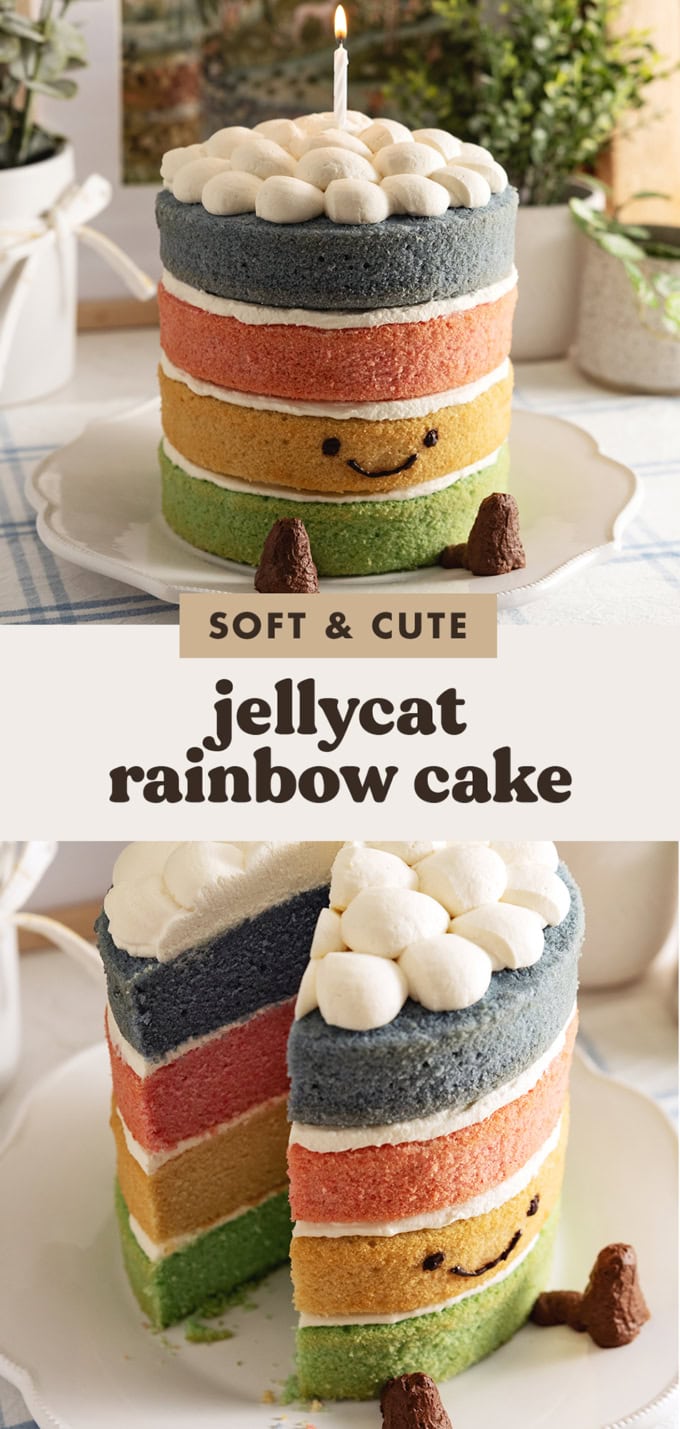
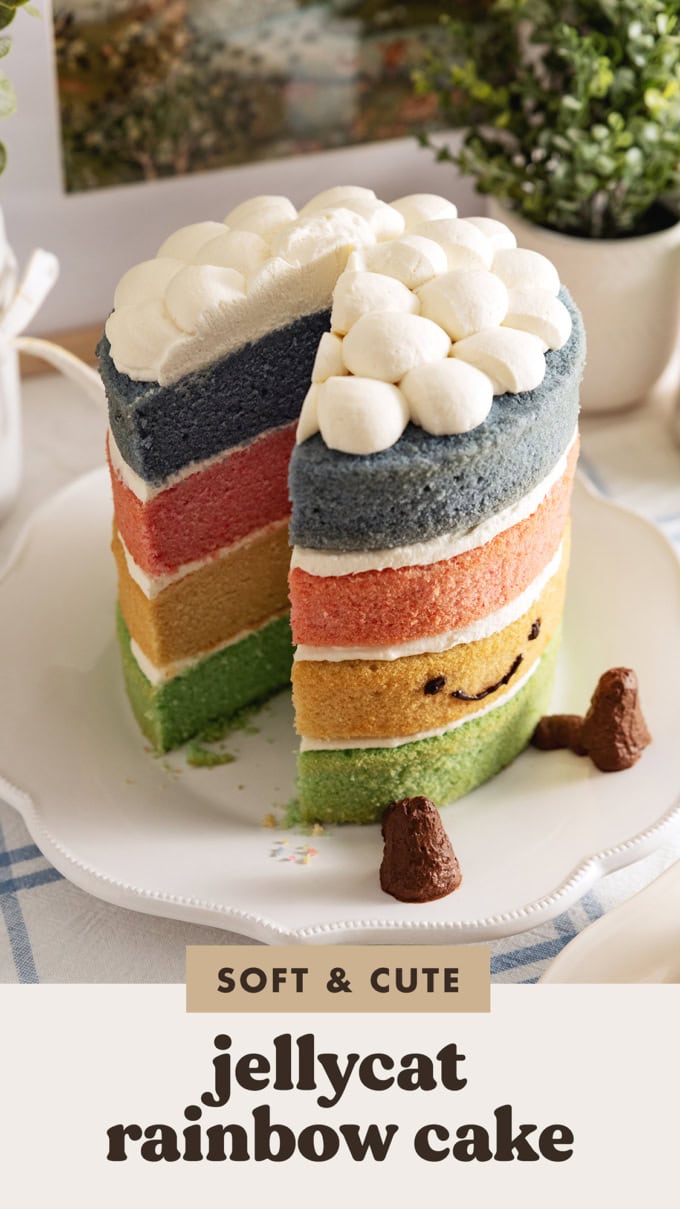
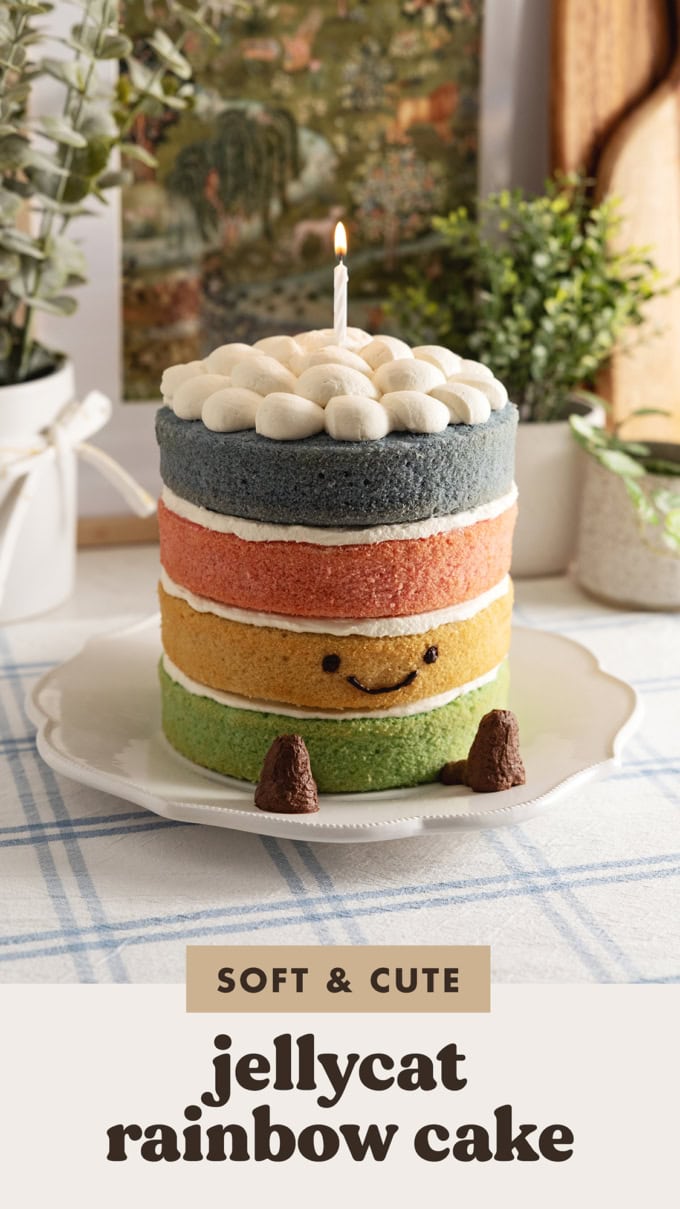
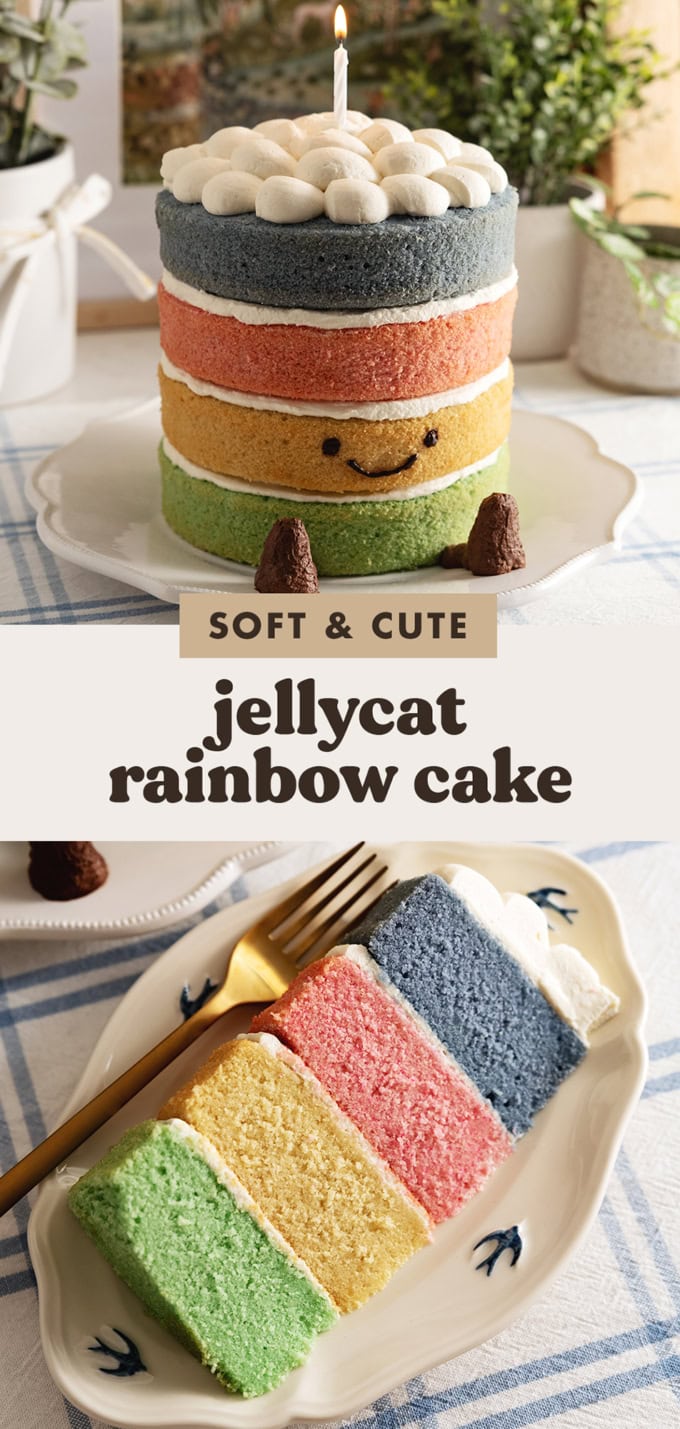
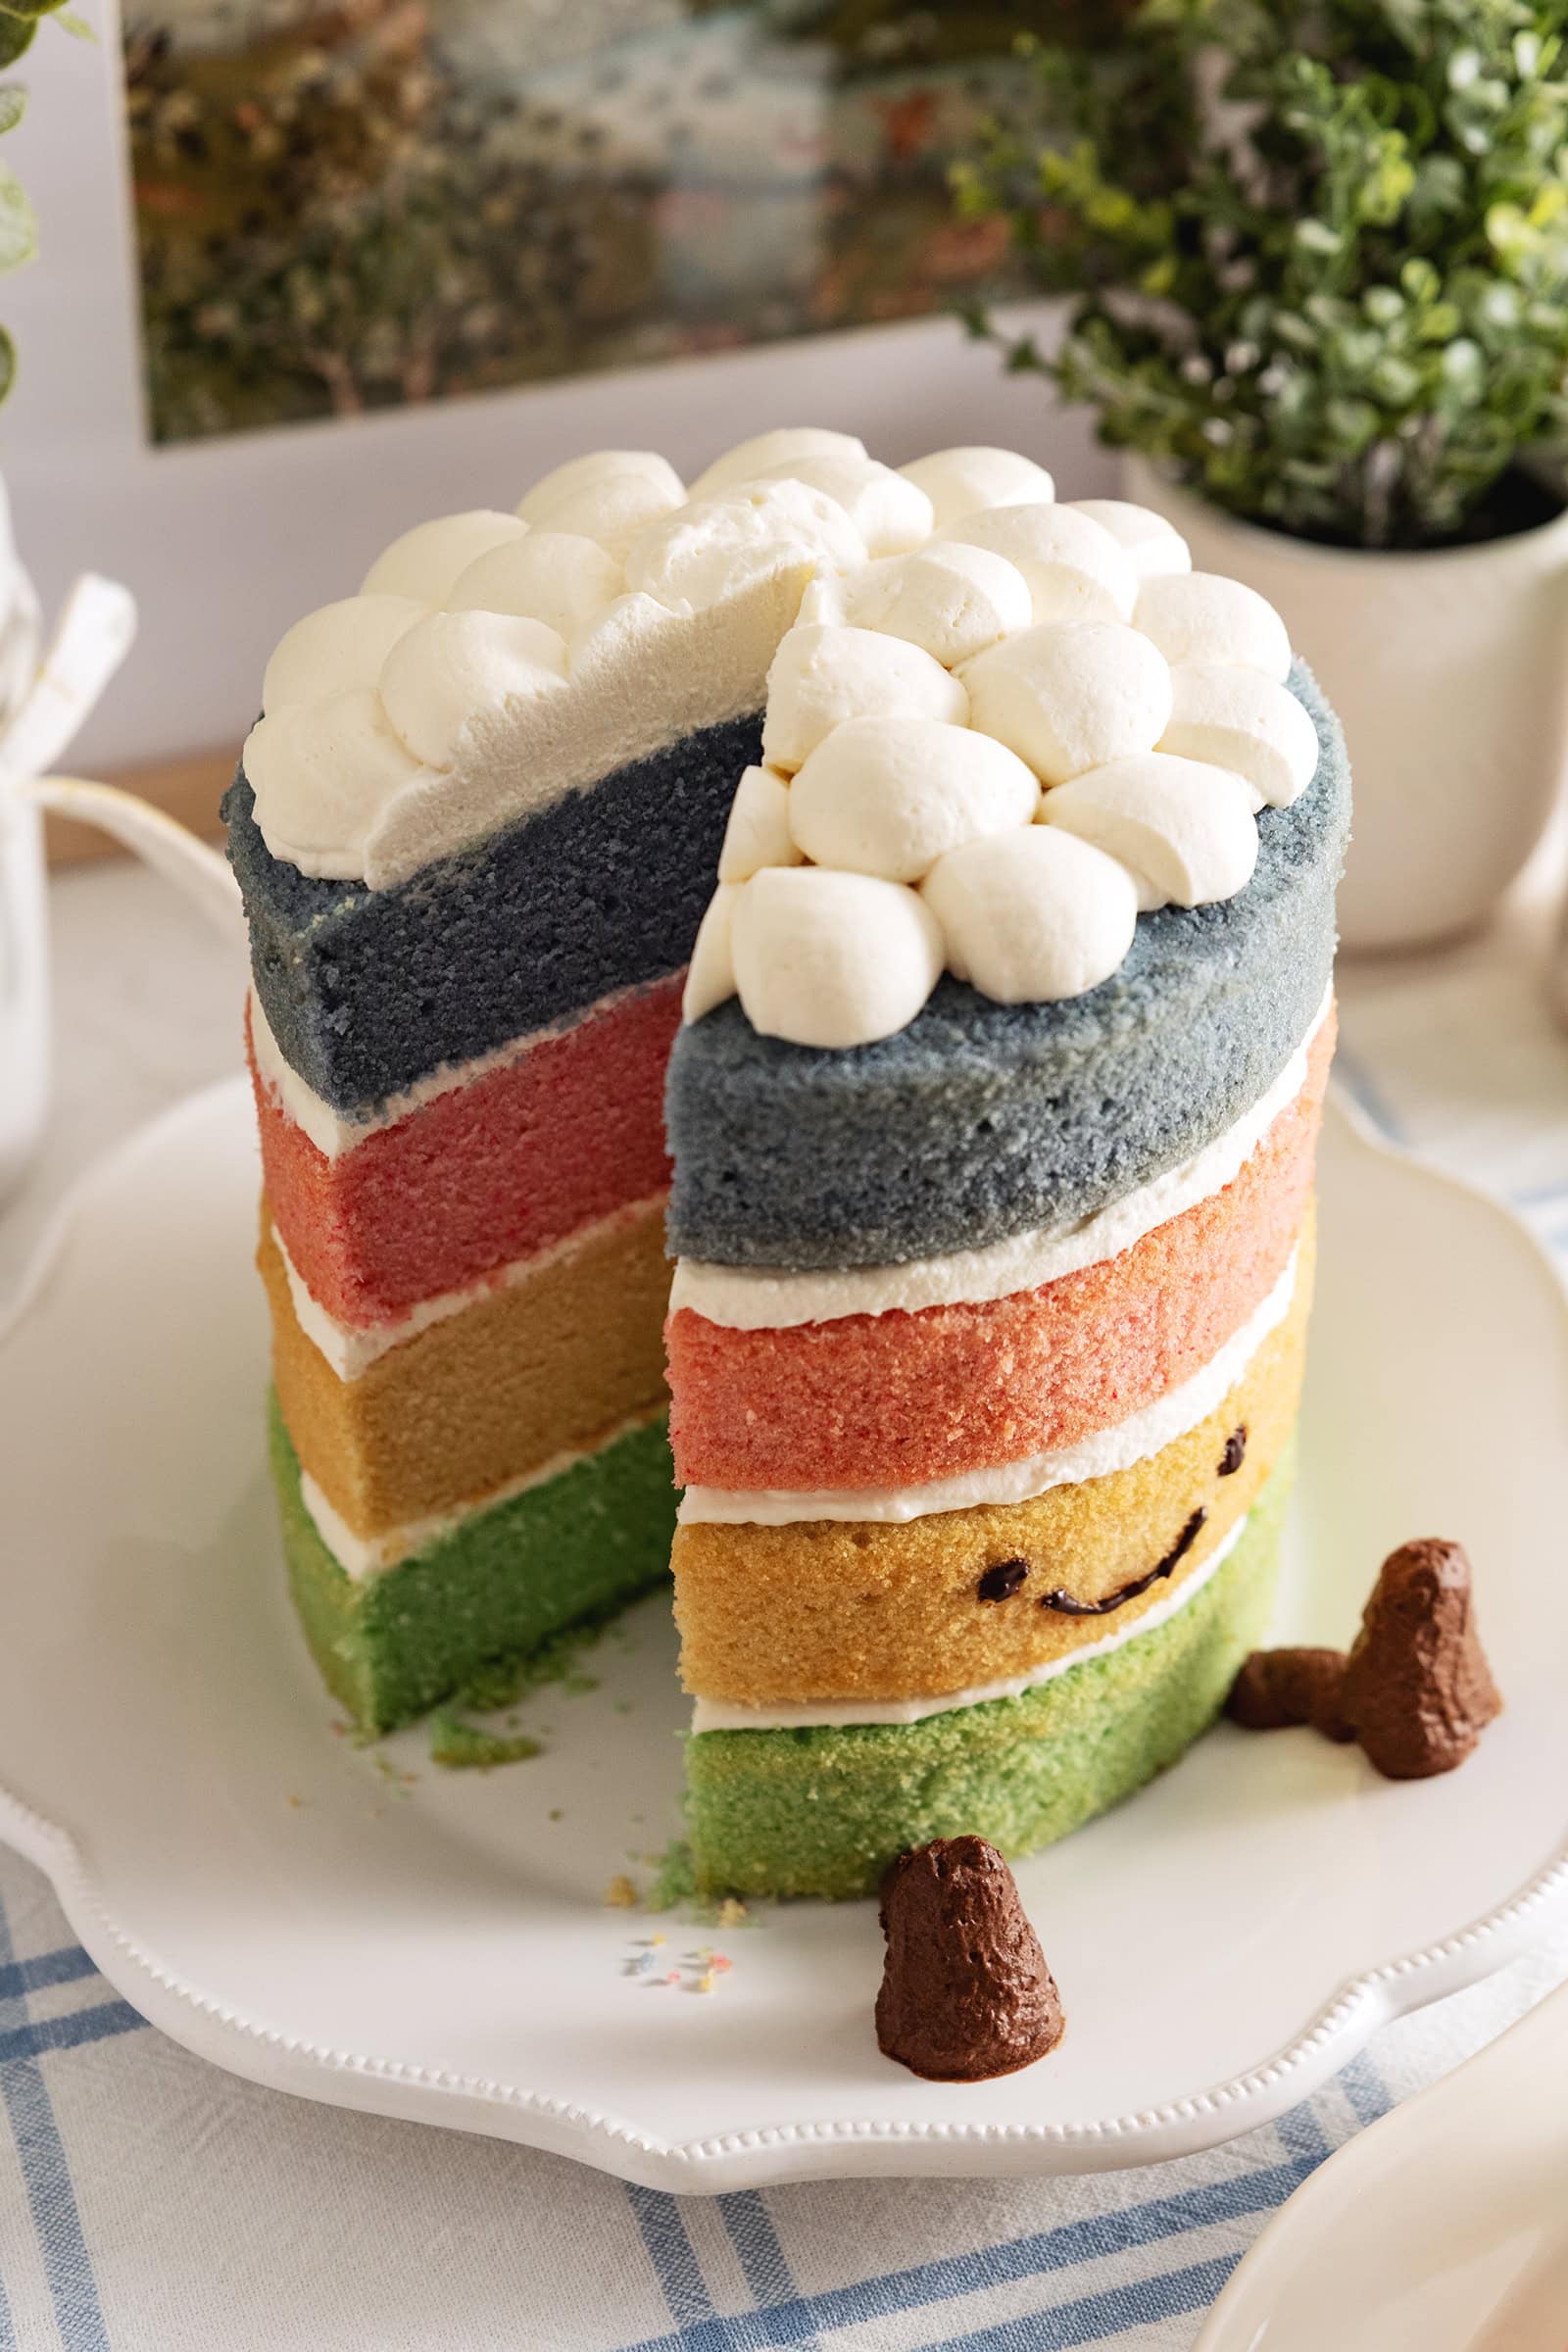
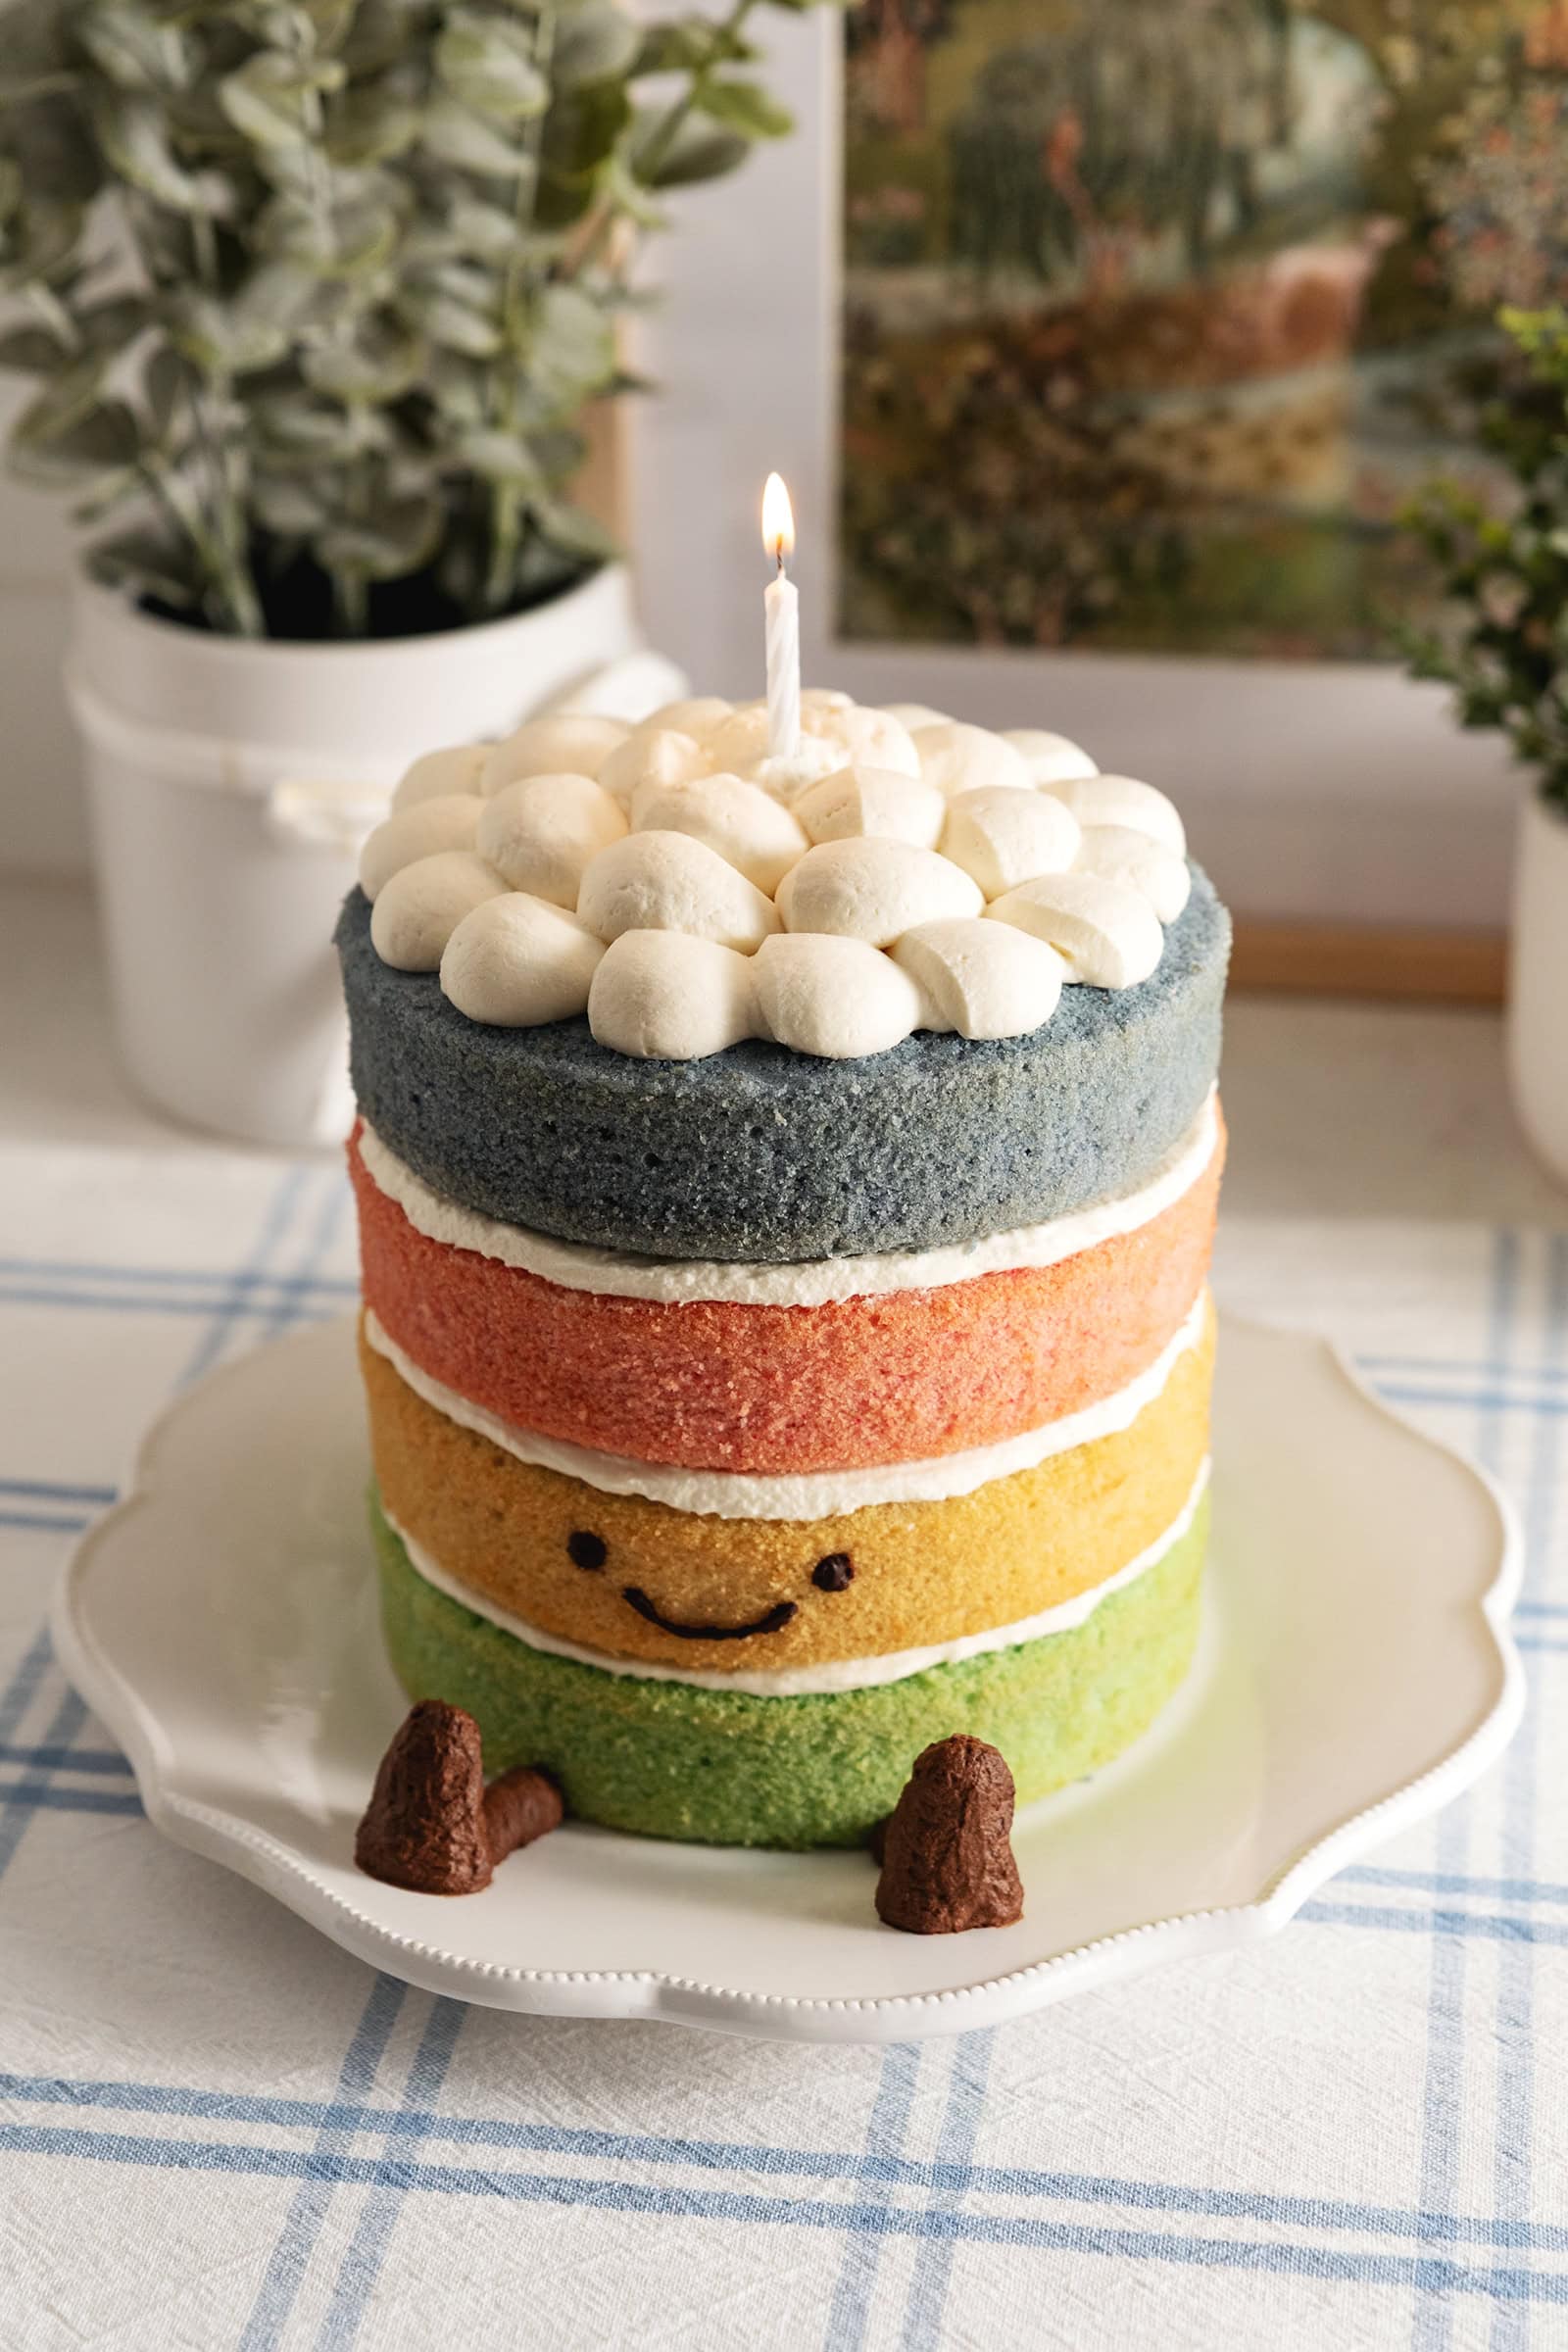
A cute 4-layer Jellycat rainbow cake inspired by the beloved stuffed toy. It's made with soft rainbow cake layers with whipped cream and chocolate details.
Jump to:
Notes from the baker
My Jellycat Birthday Cake recipe has been one of my most popular and well-loved recipes for the past few years. I'm so excited to bring another Jellycat to life with this Jellycat rainbow cake!
It's just as cute as the original Jellycat birthday cake but with extra colourful flair. This is a simple cake recipe, focused on capturing the look of the stuffed toy, but you can add different fillings, jam, or fresh fruits in between the cake layers to change up the flavour and make it your own.
Why you'll love this recipe
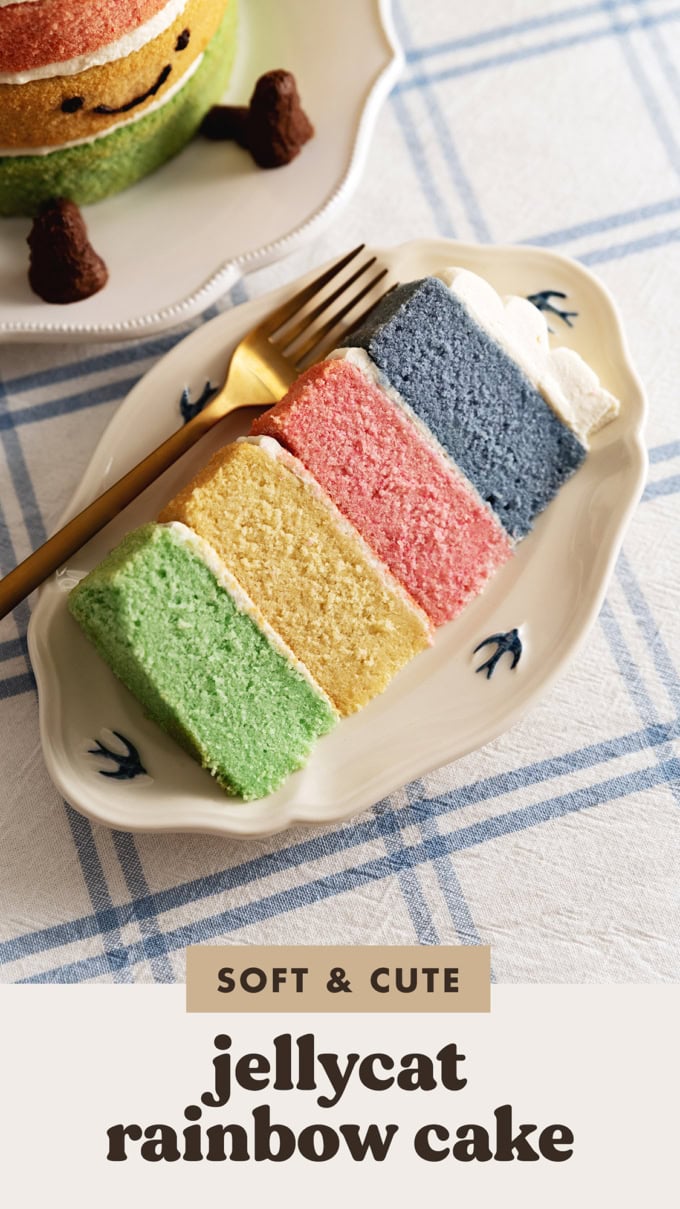
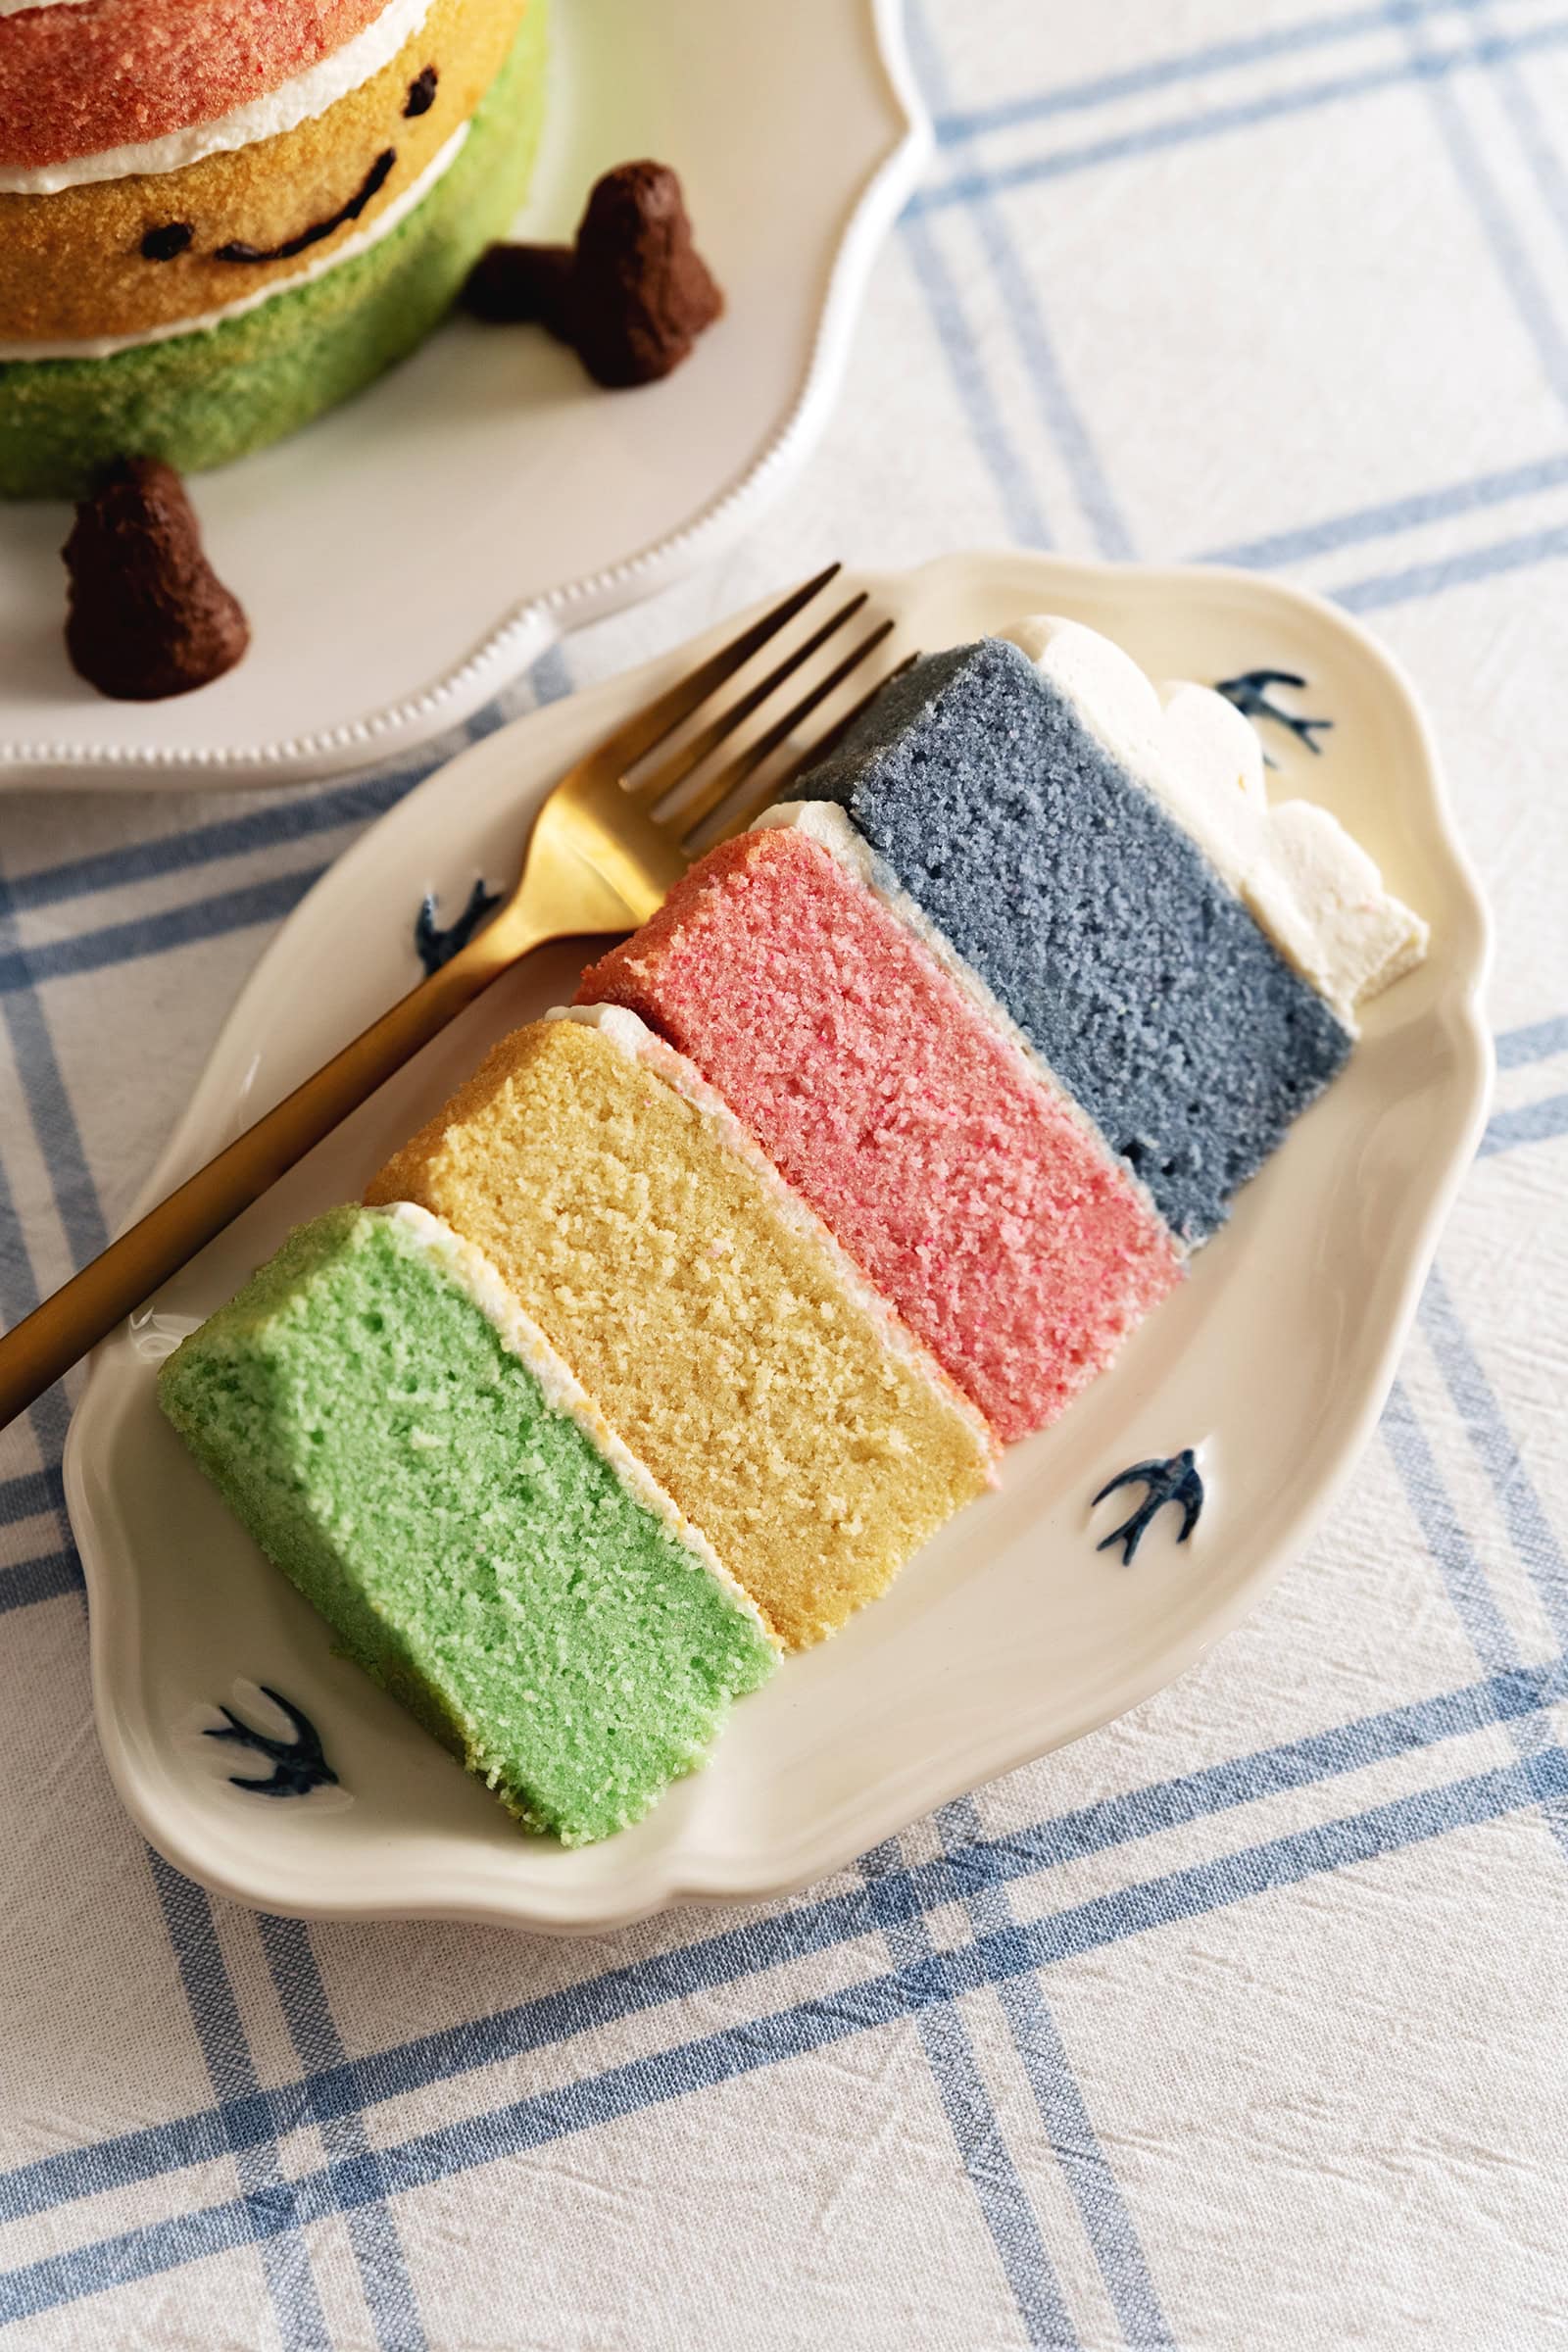
- Soft rainbow cake layers. Super soft vanilla cake in fun colours!
- Light and airy whipped cream frosting. The whipped cream frosting is easy to make and adds moisture to the cake without being too sweet.
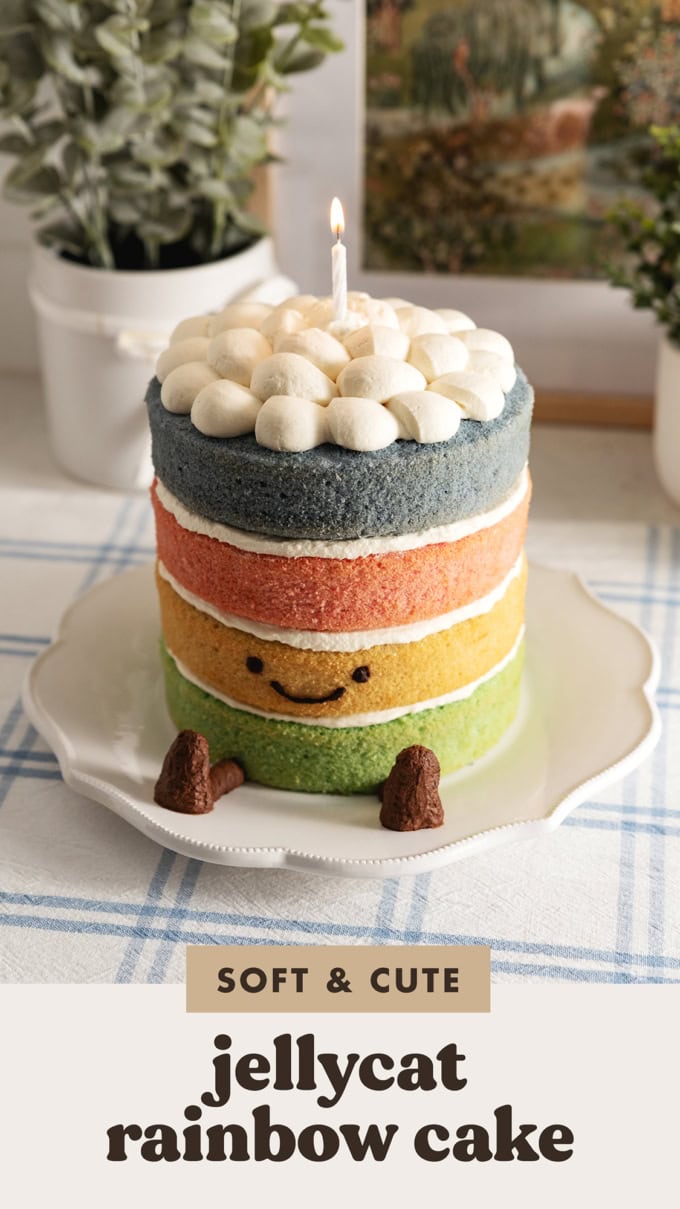
- Cute cake design. It's supposed to look like a Jellycat so of course it's going to be adorable!
- Easy to make. It's a simple cake recipe with plenty of room for customization.
Tools
- Electric hand mixer - You'll a hand mixer to cream the softened butter and sugar together and to whip the cream. Sometimes I find that a large whisk whips cream faster so you can also use that as well.
- Offset spatula - An offset spatula has the perfect ergonomic angle for spreading whipped cream on the cake layers and shaping the whipped cream legs.
- Piping bags - You'll need three piping bags for the whipped cream topping, legs, and face of the Jellycat cake.
Ingredient notes
As always, the full recipe card with ingredient amounts and instructions is at the bottom of this post! Keep reading for more details on each ingredient or skip ahead to the recipe.
- Cake flour - Cake flour contains less gluten and creates a soft and more tender cake crumb.
- Baking powder
- Baking soda
- Unsalted butter - This should be softened to room temperature.
- Granulated sugar
- Oil - We're using a combination of butter and oil in this cake because oil doesn't firm up when chilled, creating a softer cake even when it has been in the fridge.
- Eggs - These should also be at room temperature. If you forget to take them out of thee fridge ahead of time, you can submerge them in a bowl of warm water for 5 minutes.
- Vanilla extract
- Buttermilk - Buttermilk helps create a softer and richer cake due to the fat content and the acidity also helps the cakes rise when combined with baking soda. This should also be at room temperature.
- Gel food colouring - I recommend using gel food colouring, as opposed to water or oil-based food colouring, so that it doesn't change the consistency of the cake batter. You'll need blue, pink, green, and yellow (optional because the cake batter is already naturally a light yellow colour). You may need to experiment and mix colours to achieve your desired shade. Keep in mind that the colour will darken and warm up slightly after being baked.
- Whipping cream - We're making whipped cream for the frosting because it's light, airy, and easier to make than buttercream but you can use any frosting you like.
- Powdered sugar
- Vanilla extract
- Cocoa powder - We're using a bit of cocoa powder to colour the whipped cream for the Jellycat's legs. It's an easy way to add a bit of flavour without using food colouring.
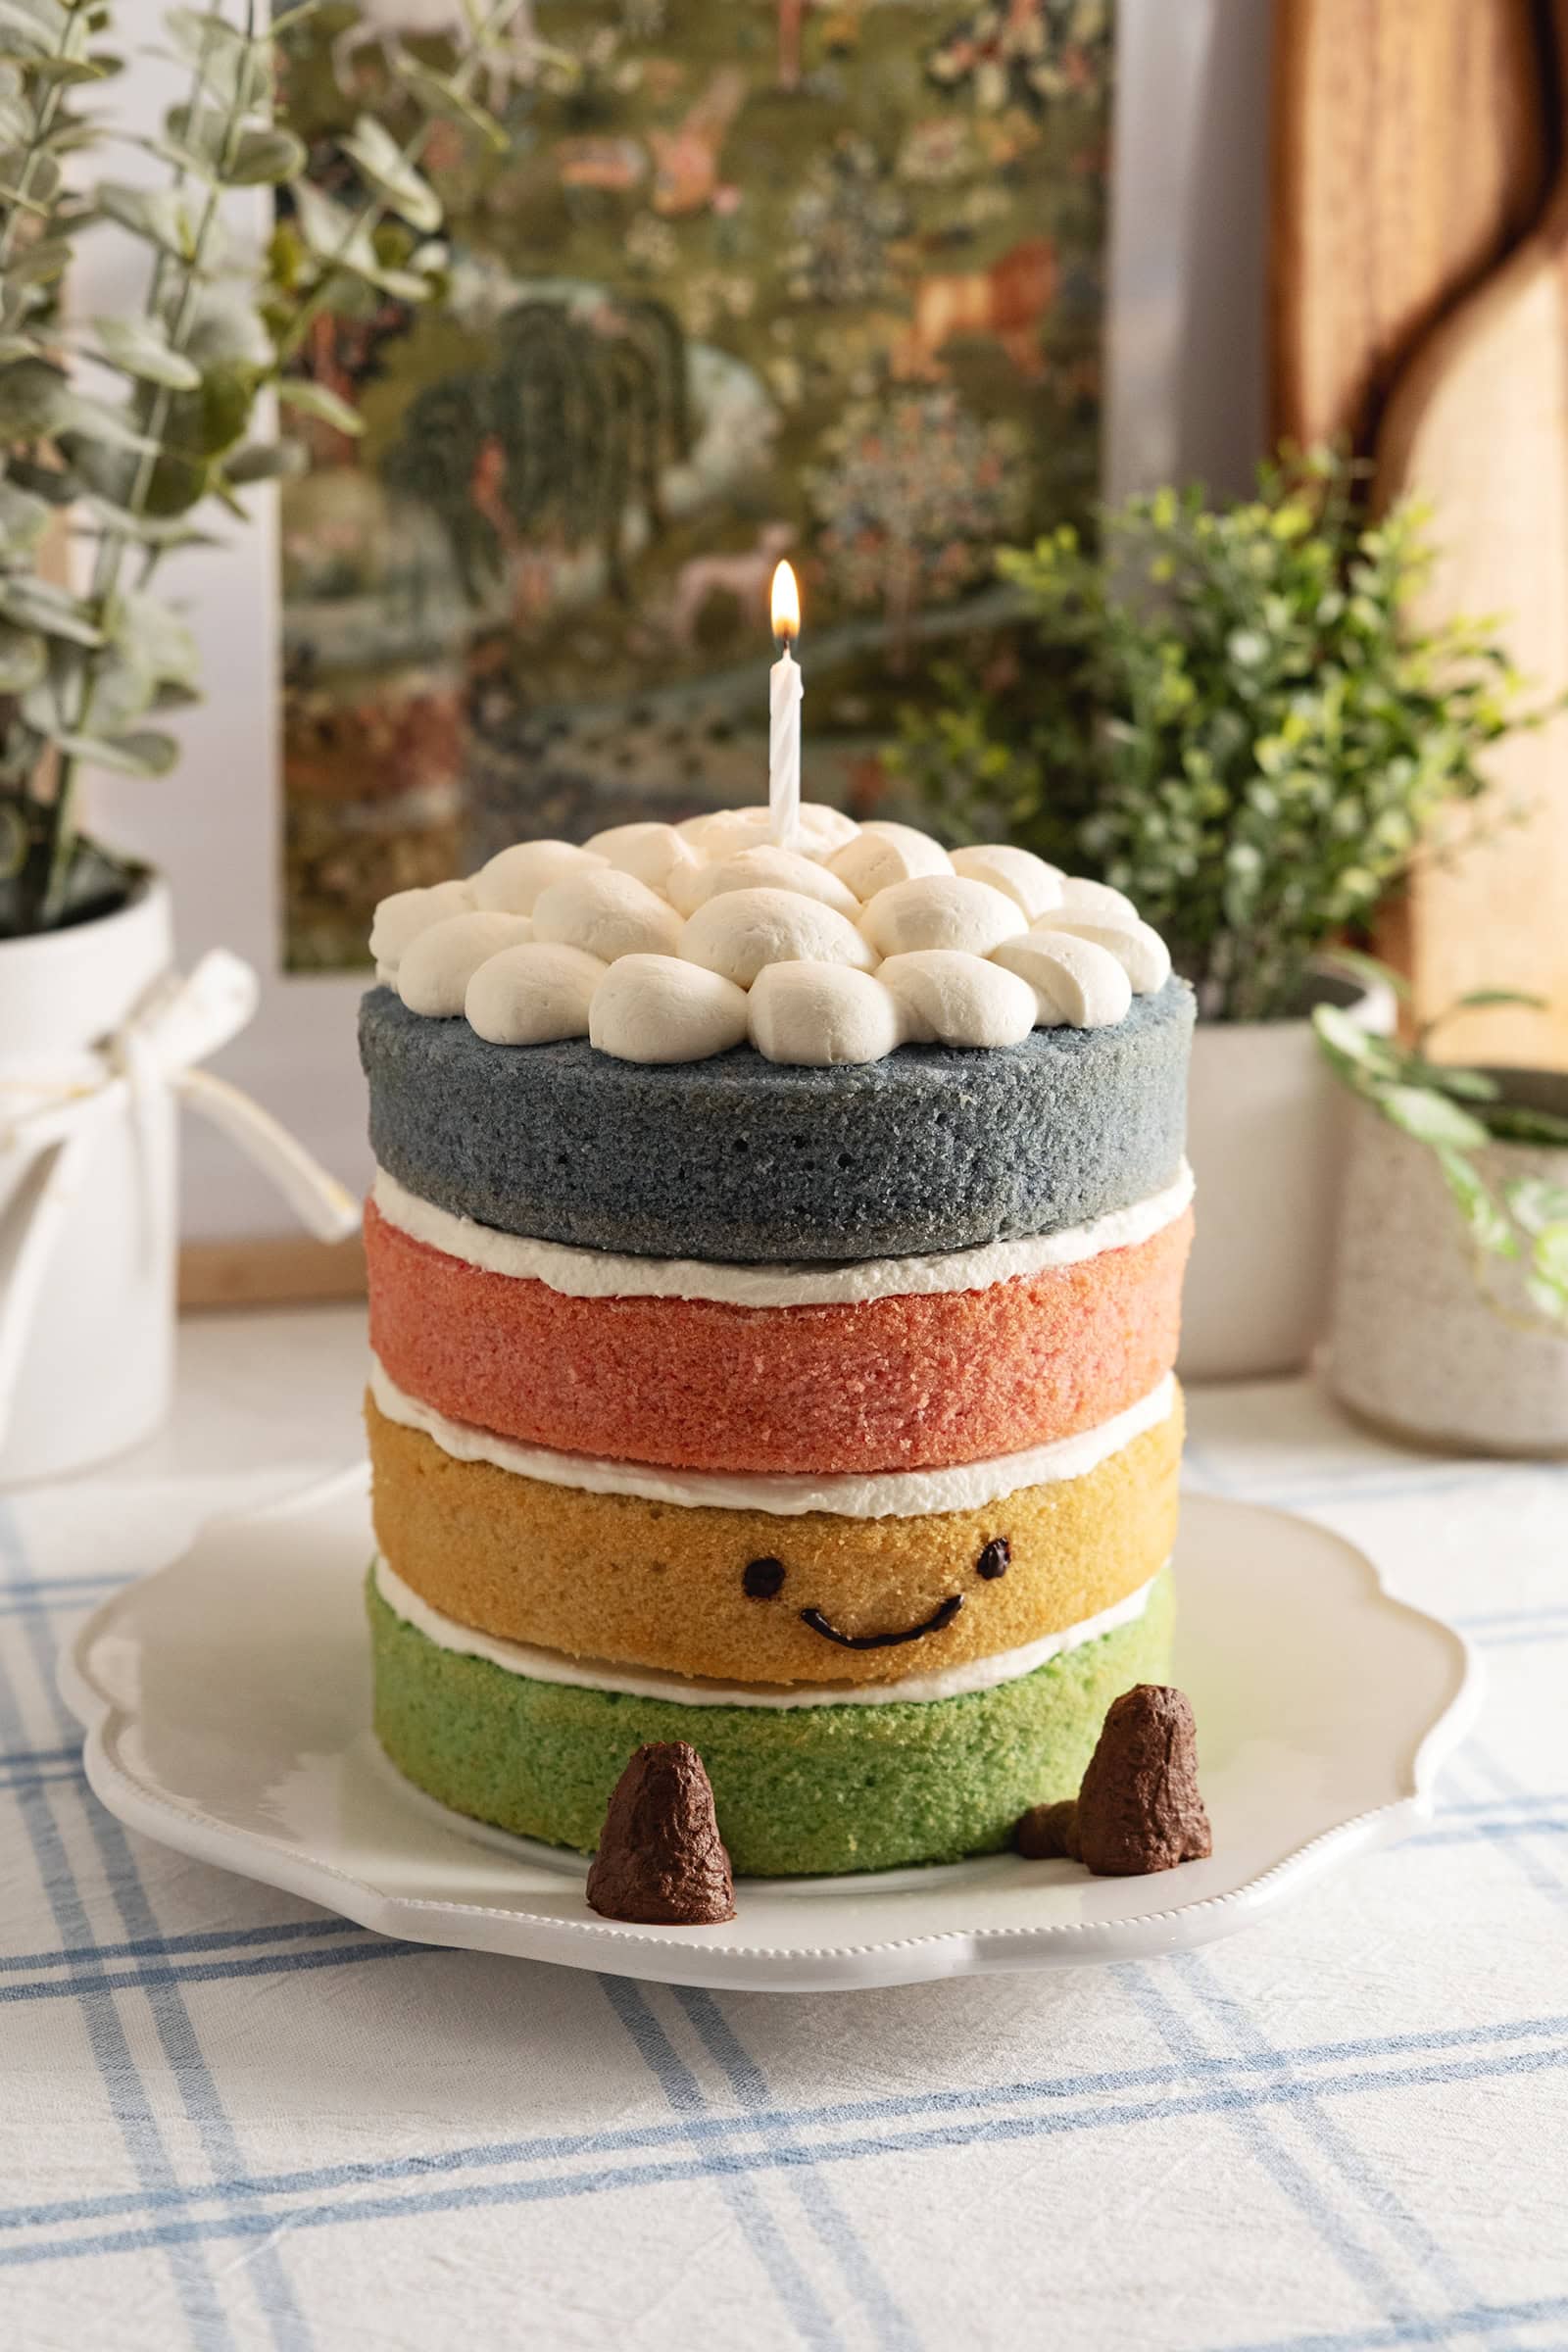
- Dark chocolate - We're using melted chocolate to draw the Jellycat's smiley face. You only need a bit. You could also use a food marker but I find that the chocolate creates a nice 3D effect even if it can be a bit tricky to do.
- Candle - This isn't an ingredient but it's an essential part of the Jellycat rainbow cake's look! You can choose to make the candle out of marzipan but I find that a regular candle works just fine unless you want it to be edible.
Tips for making the best Jellycat rainbow cake
- Use room temperature ingredients. It's important to use room temperature ingredients (especially the butter) where indicated as they will mix together more seamlessly into a smooth batter and won't cause the butter to solidify into small chunks upon contact with a cold ingredient.
- Don't overmix the cake batter. Since you'll be mixing food colouring into the batter, try not to mix the batter too much otherwise it will create tougher cake layers.
- Rub off the outer browned layer of the cakes for a clean look. After baking and cooling, the sticky browned layer on the outside of the cakes will start to come off in some areas on the sides and where the parchment paper was peeled off. You can remove it completely by gently rubbing it off with your fingers. This will also help reveal the colour of the cake layers.
Storage
This Jellycat rainbow cake can be stored in an airtight container or covered in the fridge for up 3 days. Let the cake come back to room temperature before serving.
Leftovers can be frozen in an airtight container or freezer bag for up to 1 month. Thaw in the fridge overnight or at room temperature for a few hours before eating.
Frequently asked questions
Baking by weight is much more accurate than volume. When using US standard cups, ingredients like flour and sugar can easily be overpacked into the cup causing you to add too much of certain ingredients. Recipes with weight measurements are also easier to scale to smaller or bigger batches without dealing with weird fractions. To measure by weight, you simply need a kitchen scale which you can usually pick up for less than $20.
Small measurements are given in tablespoons and teaspoons because most kitchen scales are not accurate under about 10g. Tiny amounts like a ¼ teaspoon may not register accurately unless you have a drug scale. Mixing these measurements is a common practice among other recipe sites and commercial kitchens.
More cake recipes to try
- Jellycat Birthday Cake
- Raspberry Pistachio Cake
- Strawberry Chiffon Cake
- Chocolate Cake with Peanut Butter Frosting
- Strawberry Chocolate Cake
Recipe
Jellycat Rainbow Cake
Equipment
Ingredients
Cake Layers
- 360 g cake flour
- 1 ½ teaspoons baking powder
- 1 teaspoon baking soda
- 115 g unsalted butter, softened to room temperature
- 375 g granulated sugar
- 140 g oil
- 3 large eggs, room temperature
- 1 tablespoon vanilla extract
- 360 mL buttermilk, room temperature
- gel food colouring, blue, pink, green, yellow (optional)
Whipped Cream
- 300 g whipping cream, cold
- 30 g powdered sugar
- 1 teaspoon vanilla extract
- 1-2 teaspoons cocoa powder
Details
- 20 g dark chocolate
- 1 candle
Instructions
Cake Layers
- Prep: Preheat the oven to 350°F. Line four 6" cake pans with a round of parchment paper on the bottom of the pans. Set aside.
- Flour mixture: In a medium bowl, stir together cake flour, baking powder, baking soda, and salt. Set aside.
- Cream butter and sugar: In a large mixing bowl, use an electric hand mixer to beat the softened butter until very creamy. Add the sugar and beat together for about 5 minutes. It will seem like there's too much sugar but it will come together in the next step.
- Wet ingredients: Add the oil and beat together until the mixture becomes pale in colour and smooth. Beat in one egg at a time and add the vanilla extract in with the last egg.
- Alternate flour and buttermilk: Add half of the flour mixture and mix on low speed until just barely combined. Add half of the buttermilk and mix until just combined. Repeat adding the remaining flour mixture and buttermilk and mix until just combined. Divide the cake batter into 4 separate bowls (3 new bowls plus the existing mixing bowl), approximately 375g of batter in each.
- Colour the batter: Add gel food colouring to each bowl of batter and mix with a spatula until evenly combined. For the yellow layer, you can choose to add yellow food colouring for a deeper colour or leave it as is because the natural cake batter is a light yellow.
- Fill pans: Pour each cake batter into a separate lined pan. Gently shake the pan to distribute the batter and tap the pan against the counter a few times to release any big air bubbles.
- Bake: Bake cakes for about 35-40 minutes or until a toothpick inserted in the middle comes out mostly clean.
- Cool: Let the cakes cool in the pan for about 30 minutes. Run an offset spatula around the edges of the cakes and invert the pans to turn out the cakes onto a wire rack where they can cool completely. Once cooled, clean up the edges of the cake by gently rubbing the browned bits off with your fingers.
Whipped Cream
- Whip cream: In a large mixing bowl, add the whipping cream, powdered sugar, and vanilla extract. Use a whisk or hand mixer to whip until it becomes firm peaks.
- Cocoa whipped cream: Transfer a small amount of whipped cream to a small bowl. Add the cocoa powder and mix until the whipped cream is tinted brown. Transfer this to a small piping bag and snip the tip off. Set aside.
Assemble the cake
- Layer cakes: On a cake turntable, lay down the green cake layer. Add a dollop of whipped cream on top and use an offset spatula to smooth it into an even layer without going too far over the edges of the cake. Place the yellow cake layer on top and repeat with the pink and blue layers.
- Whipped cream topping: Once you've layered the cake, transfer the remaining whipped cream to a piping bag and snip the tip off. Pipe dollops of whipped cream on top of the cake starting from the outside and moving towards the middle. Transfer the cake onto a serving plate, if needed.
- Pipe the legs: With the cocoa whipped cream, pipe two legs on the serving plate protruding from the bottom cake layer.
- Draw face: In a small bowl, melt the chocolate in the microwave in 10-second intervals. Transfer the melted chocolate to a small piping bag and snip the tip off. Let the chocolate cool down slightly so that it doesn't drip before piping eyes and a smile on the yellow cake layer.
- Chill: Chill the cake in the fridge for at least 1 hour to allow the whipped cream to firm up so that the cake layers don't slip around when you slice it. Top the cake with a lit candle before serving.


Tina Tuscano says
I am rating this first on cuteness! So 5 stars. I am going to make this for work! I hope it comes out as good as you make yours!